
Today I’m going to explain what causes diffraction as we stop down the aperture in our lenses past a certain point, and how this may affect our photographs.
I’ve been working on an update to our iOS app Photographer’s Friend so that you’ll be able to do two new things. The first is to enable a Pixel Peeper mode, and the second is to display your Diffraction Limit as you stop down your aperture. I’m trying to pull this in as I prepare to leave for Morocco in a few days, so I don’t know how much I’ll be able to do, but as I looked into the calculations required to add these new features, I learned a few extra things that I’m going to share today.
Traditional Depth of Field Calculation
First let me explain that traditionally, depth of field calculations have been based on sharpness perceived in an 8 x 10-inch print viewed at a distance of 25 cm. This is what Photographer’s Friend is based on in the standard mode. This calculation is most commonly used and is fine for print and probably also for viewing your images on a reasonable size computer display. In the digital age though, with the ability to examine our images at 100%, you’d probably notice that some areas that were supposed to be sharp according to the traditional calculation may appear a little soft. Enter the new Pixel Peeper mode.
I have to admit, I’m a pixel peeper, and I’m proud of it. I love my images to be tack sharp where intended, and therefore, I do check critical focus at 100% during my editing and selection process, before I decide if an image is worthy of keeping or not. So, I’ll probably be using Photographer’s Friend in Pixel Peeper mode most of the time.
Note that I’m currently not thinking it’s worth building in support for various print sizes because as the print size increases we generally move further away making the difference negligible. Of course, photographers often view prints much closer than non-photographers, checking for sharpness, but I’m pretty sure that puts you in the Pixel Peeper category, so we now have that covered.
I’ll go on to talk a little more about the app updates later, but for now, I want to talk about these three critical elements relating to sharpness in our photographs, which are Circle of Confusion, the Airy Disk and Diffraction.
The Circle of Confusion
The Circle of Confusion seems confusing in itself, but it’s really quite simple. Its size depends on the parameters you set but traditionally it is based on viewing an 8 x 10 print at 25 cm or 10 inches because it’s a fundamental part of the calculation of depth of field. I’ve created a diagram to help explain, as you can see here (below).

Circle of Confusion Diagram
When we focus on a subject, the lens is basically, to the best of its ability, going to focus the light from that subject as sharply as possible onto our camera’s sensor or film. The point at which we focus our lens, the focal plane, will be the sharpest part of our photograph. This is known as Critical Focus. If you look at the enlarged section of my diagram you’ll see that light from this area is focussed as the smallest resolvable dot of light, represented by a red dot. If you can only see the blue and teal dots on the sensor in the diagram, click on it to view it large in your browser.
Objects that are closer or further away from our focal plane grow gradually less sharp, because the light from objects further away is focussed in front of our sensor, and light from objects closer to the camera is focussed behind our sensor. But, the light from these distances only spreads out by a certain amount, which is represented by the middle teal colored circle in my diagram. This amount of spread in the light is what’s known as the Circle of Confusion.
According to the traditional calculation, if you were to view the resulting photograph as an 8 x 10-inch print at 25 cm, you would perceive the light that has only spread to the limits of this circle to be sharp. The distance between the two points inside which the subject will be acceptably sharp is known as our Depth of Field. Anything in our photograph that is closer to the camera or further away, past these two limits are considered outside the Depth of Field and will therefore no longer be acceptably sharp when viewed in that 8 x 10 print.
Circle of Confusion Calculation
If you are wondering what actual size the circle of confusion for the traditional calculation is, for a 35 mm original image enlarged to 25 cm (10 inches), the length of the 8 x 10-inch print, you’d be multiplying the image by seven. If we consider that the smallest resolution we can determine with regular eyesight is 0.2mm, we would divide that by 7 giving us 0.029 mm or 29 μm (micrometers). This is what I use for the 35 mm format calculation when not using the new Pixel Peeper mode.
Custom Circle of Confusion Setting
You will see slight variations on the size of the circle of confusion, as there are a number of ways to think about this. Rather than trying to cater for all possibilities programmatically, if you prefer to use a different circle of confusion to that which I’ve set as the default for each camera format, from v2.3 you will be able to enter a custom size under the advanced settings page, that we’ll look at shortly.
So, to quickly summarize what we’ve covered so far; subjects at our focus distance or focal plane will have their light focussed to on the sensor in an even smaller circle than the circle of confusion, so subjects on the focal plane will be the sharpest area of our photograph. Subjects any closer or further away from that area of critical focus will grow gradually less sharp until the light from them spreads to the size of Circle of Confusion. At this point, they are on the limit of acceptable focus, or in other words on the very edges of our depth of field. Light from anything any closer or further away from these limits will spread to a size large than the circle of confusion, and so will appear to be blurry and get blurrier the further from the depth of field they get as their circle of confusion continues to grow.
At this point, they are on the limit of acceptable focus, or in other words on the very edges of our depth of field. Light from anything any closer or further away from these limits will spread to a size large than the circle of confusion, and so will appear to be blurry and get blurrier the further from the depth of field they get as their circle of confusion continues to grow.
Pixel Peeper Mode
As I mentioned earlier, there are times when we want sharper images than those required to create a sharp print at 8 x 10 inches. In my mind, the best test is when we can view an image at 100% on our computer screen, and still see that all of the areas that we intended to be in focus, are indeed in focus.
My answer to this dilemma is the new Pixel Peeper mode that will be introduced in V2.3 of Photographer’s Friend that I hope to release soon. Basically what this provides is a way to calculate the Circle of Confusion automatically from your sensor size, which you select via the Format dial in our Depth of Field calculator, and the megapixel dial that you’ll find under the new Settings screen, that you can see in this screenshot (below).
Pixel Peeper Mode
I’m still working on this update, so nothing is set in stone at this point, but as you can see, there will be a new line of buttons and displays between the settings dials and the Depth of Field readouts, and the Settings button is on the right. At the bottom of the Advanced Settings screen, is a switch to turn on Pixel Peeper mode, and a dial to select your camera’s megapixels.
The addition of these settings enables me to calculate a new Circle of Confusion, that you can see above the Format dial, and I am also now calculating the Pixel Pitch which is the second display from the right. The Circle of Confusion is basically the pixel pitch multiplied by 2.5, which will give good sharpness even when viewed at 100%.
Diffraction Limit Color Coding
The other important thing that this enables me to do is to calculate the size of the Airy Disk, which I’ll explain shortly, and that gives us information on when your image may start to suffer from Diffraction. As you can see from the screenshot, the AD or Airy Disk display and the Aperture dial are both colored green. This is because I’ve turned on the top two new options to change these colors to indicate how I’m doing with regards to Diffraction.
As you can see in these next screenshots (below) as you select smaller apertures, the dial and readout changes to amber to so indicate that there is a danger of being Diffraction Limited and then red to tell you that you pretty much are now going to be Diffraction Limited.
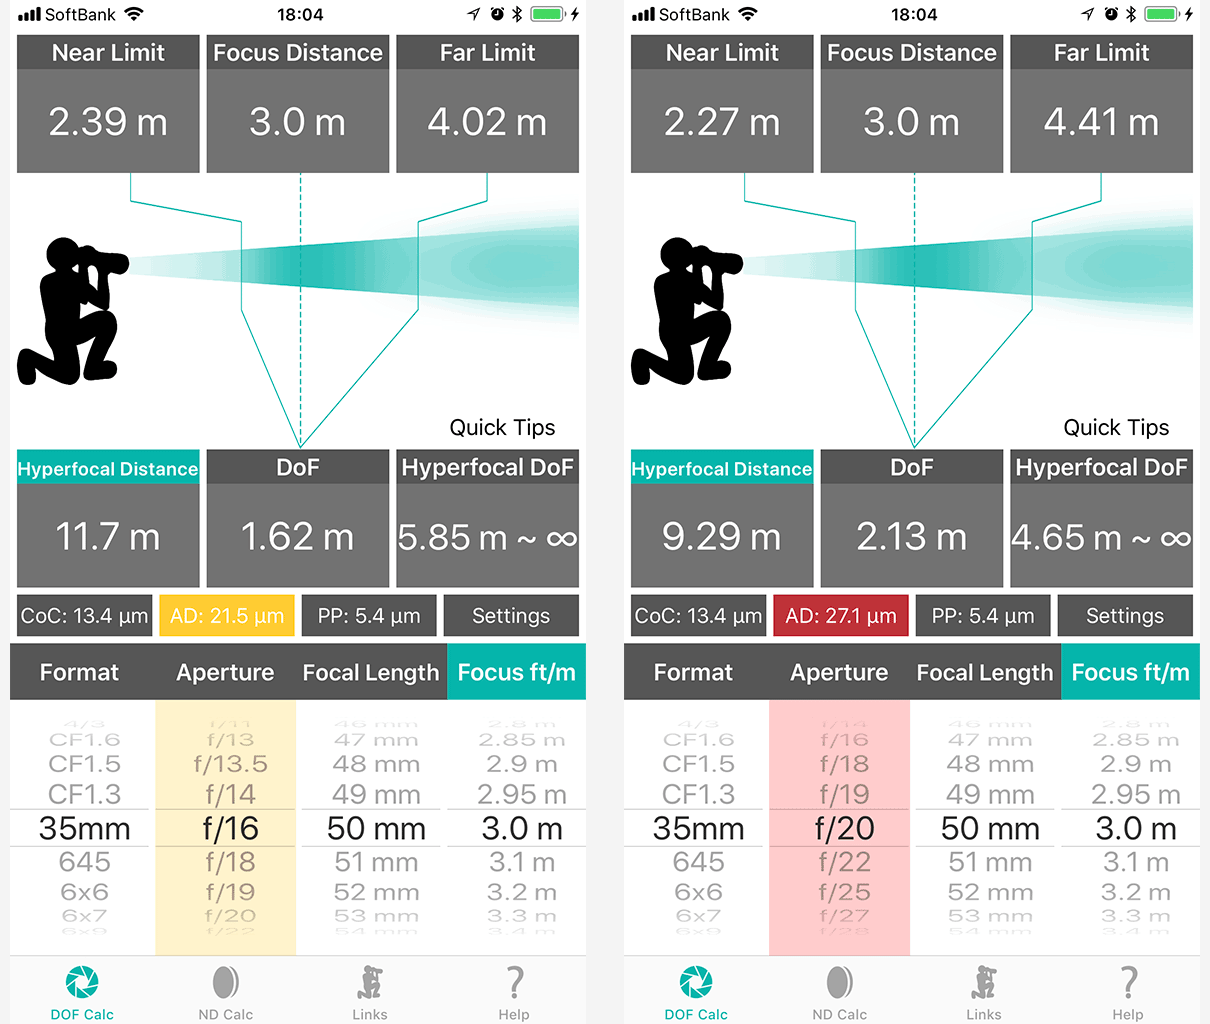
Diffraction Limit Color Coding
You can select to display either of these color coding options separately or none at all if you don’t care. But, diffraction is a real issue and something that we need to keep in mind if we want sharp photographs. Let me explain why.
The Airy Pattern
Airy Pattern
With the understanding that we get greater Depth of FIeld as we make our aperture smaller, you’d think that when you want more of your scene to be sharper, you could just select a really small aperture. Many lenses for 35mm format cameras go down to f/22 or sometimes f/32 or smaller, and medium and large format lenses often go to much smaller apertures to get enough depth of field.
But, as good as the manufacturers make our lenses, there is a problem that occurs as light passes through a very small aperture. If you picture water coming out of a hose, unrestricted the water comes out clear, relatively undisturbed, and at pretty much the same diameter as the hose and then starts to gradually spread out. If you attach a device to enable you to create a smaller hole though, the water becomes disturbed and starts to spread out much more quickly.
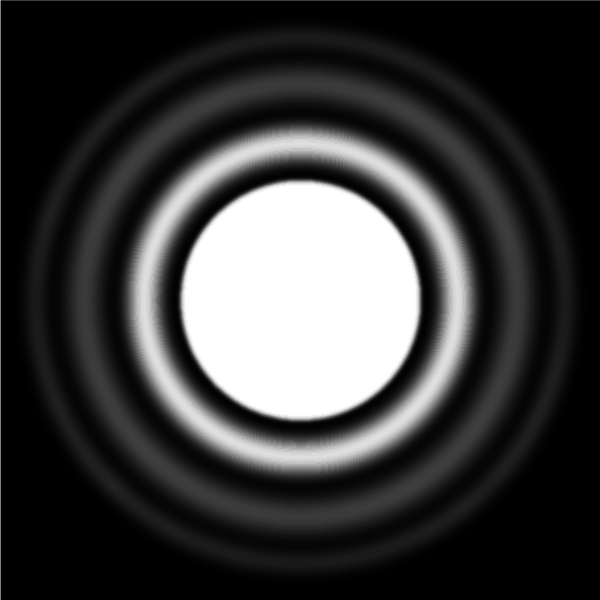
Well, that same thing happens with light. As light passes through a wide aperture, it pretty much just makes it’s way to the sensor or film, but as light passes through a small aperture, it interferes with other rays of light, causing it to spread out. The result is what’s known as the “Airy Pattern” (right) with a central “Airy Disk”, both named after George Airy, the person who discovered this phenomenon.
As you can see, there is a central core of light which makes up about 84% of the light, and then a number of concentric rings. While there is still a gap between the central core or Airy Disk, and the next Airy Disk, the light is said to be “well resolved”. According to the Rayleigh Criterion, the dots are “just resolved” if the center of the first Airy Pattern is superimposed on the first dark ring of the second pattern. I’ve tried to express this in the below mockup.
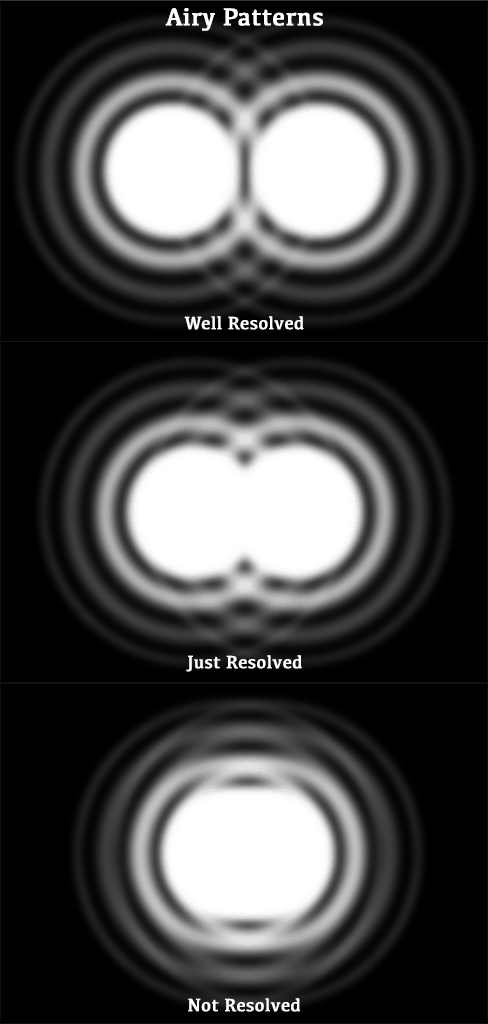
Airy Disk Patterns
Another way of putting this, according to the Cambridge in Colour website, is that there is an impact on the image once two airy disks become closer than half their width.
I referenced a great Cambridge in Colour article on Diffraction Limited Photography as I consolidated my thinking on this, and they state that “an Airy disk can have a diameter of about 2-3 pixels before diffraction limits resolution”. It was this and a few other points that made me realize I could calculate the Diffraction Limit programmatically by adding a few other parameters to my DoF calculator.
The key point to keep in mind here is that the Airy Disk grows as the aperture gets smaller, causing the light to spread out, and there’s an easy formula to calculate this. I then figured out how to calculate the pixel pitch based on the size of each sensor format and with the megapixels input through the new dial on the settings page, I can calculate and compare the size of the Circle of Confusion for the evaluation of sharpness at 100% screen viewing.
Color-Coded Diffraction Warnings
Because the Circle of Confusion size is rather large in the traditional 8 x 10-inch print calculation method, experience tells me that you actually need to start being concerned when the Airy Disk gets to around 80% of the size of the Circle of Confusion.
So, when you are not in Pixel Peeper mode, the color of the Aperture dial will change from green to amber when the Airy Disk passes 80% of the default Circle of Confusion size, and for 35mm format, that is around an aperture of f/18. It then goes red from 100%, which is f/22 at the default settings. This matches my own tests perfectly.
In Pixel Peeper mode, these boundaries are a little more conservative, but at this point, I’m setting amber to kick in at around 100% and then the red Diffraction Limit warning from around 200%. Because of the size of the Circle of Confusion at this high resolution, these parameters will cause the dial to go amber from f/10 for a 35mm format camera at 30 megapixels, and then turn red from f/20.
Now, I personally think that f/10 is way too early, but the physics tells us that there is a possibility of seeing the affects of Diffraction at this point, so I want to keep it in, although it’s only as the amber warning.
Test For Yourself
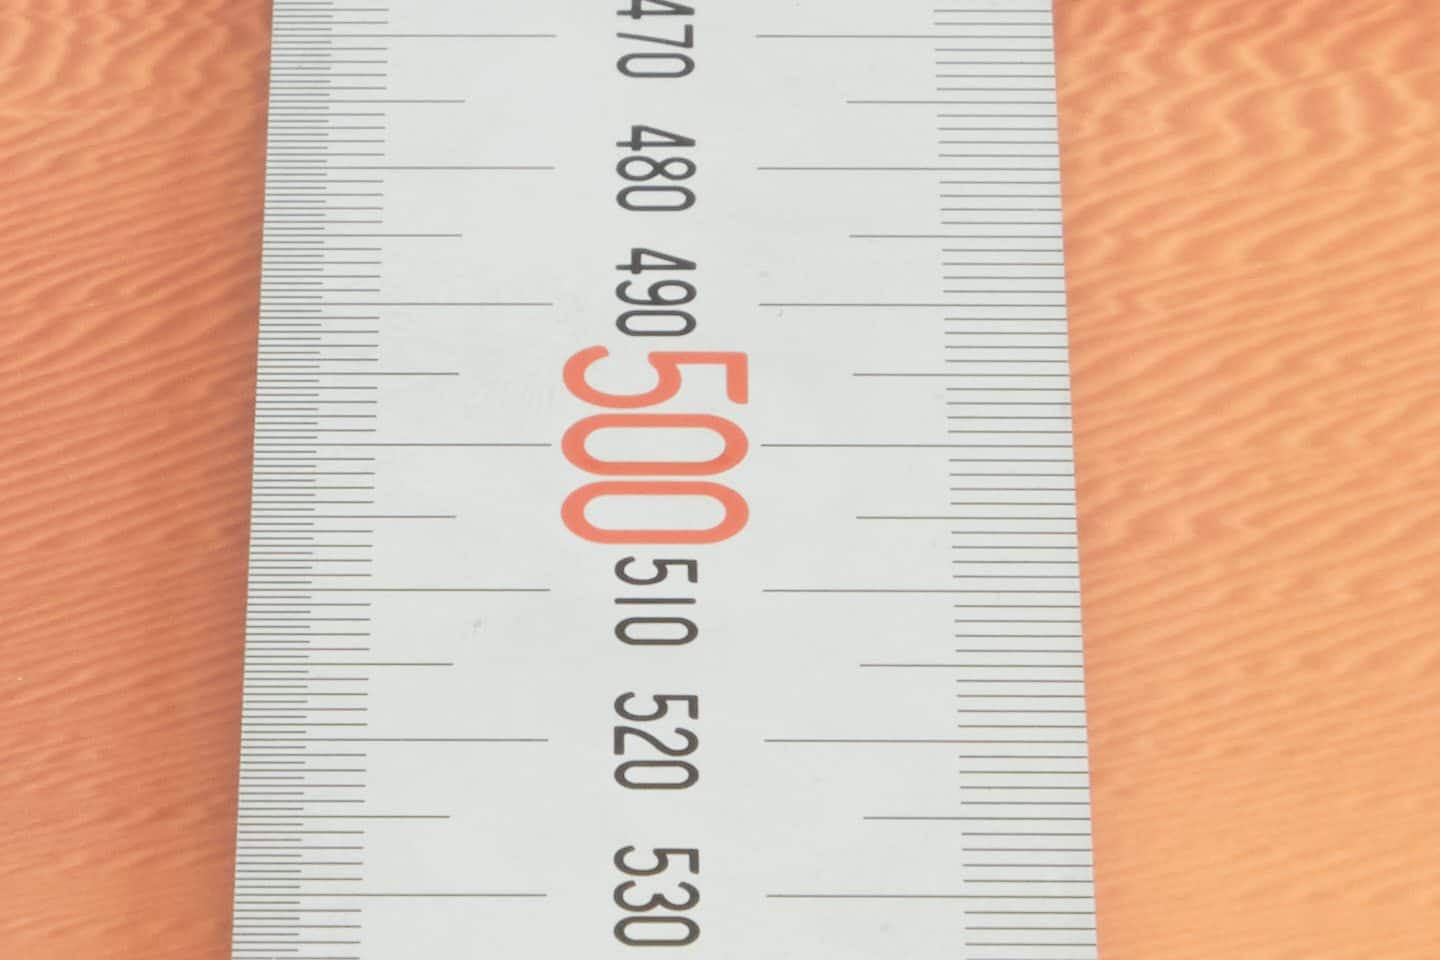
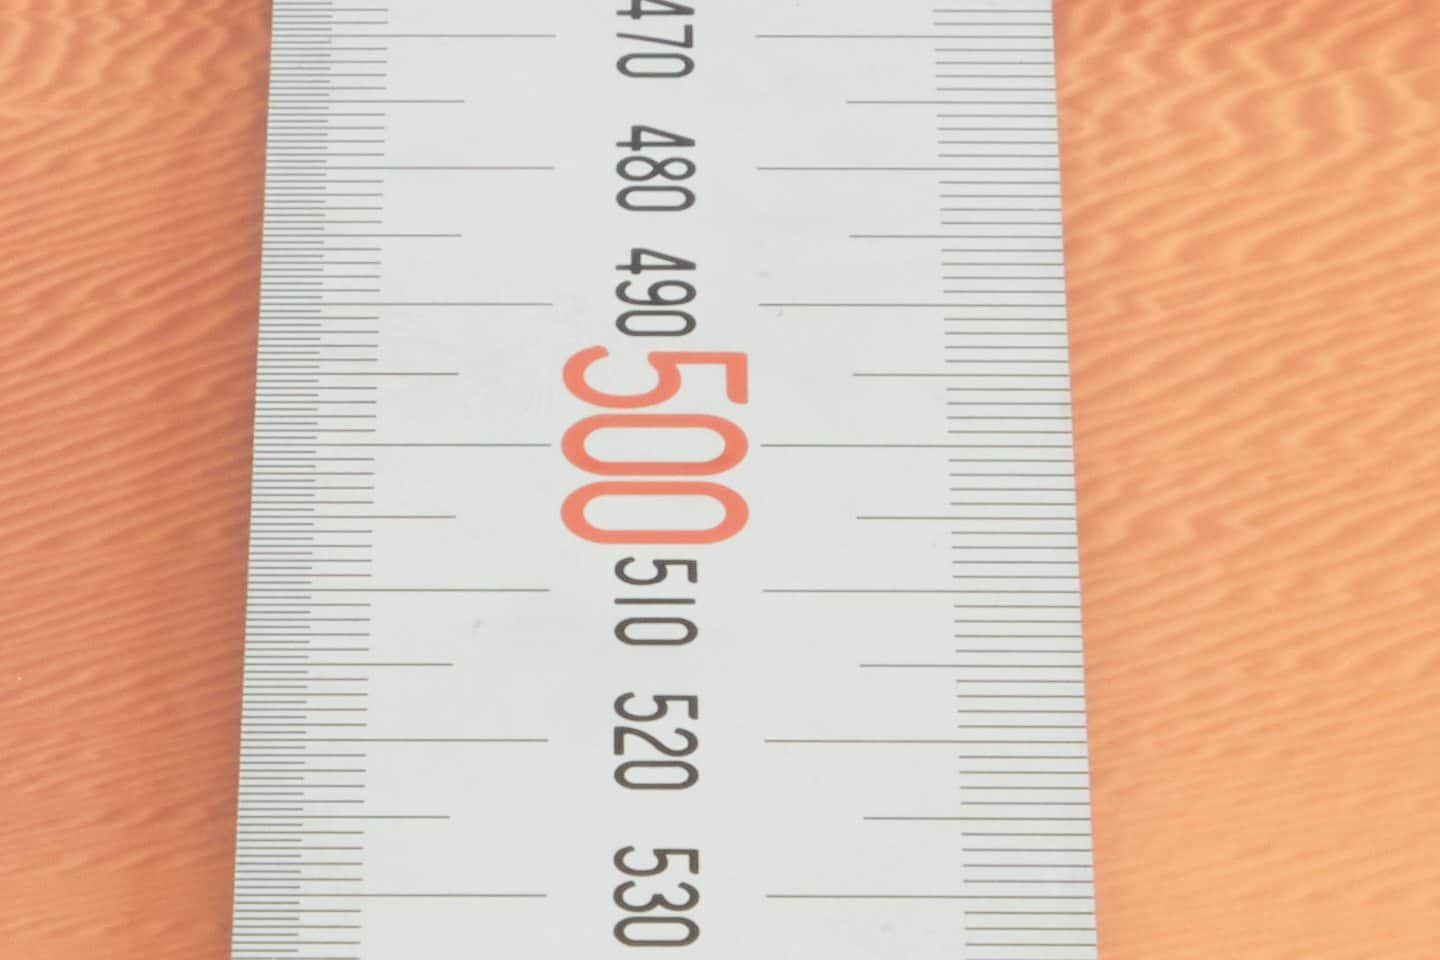
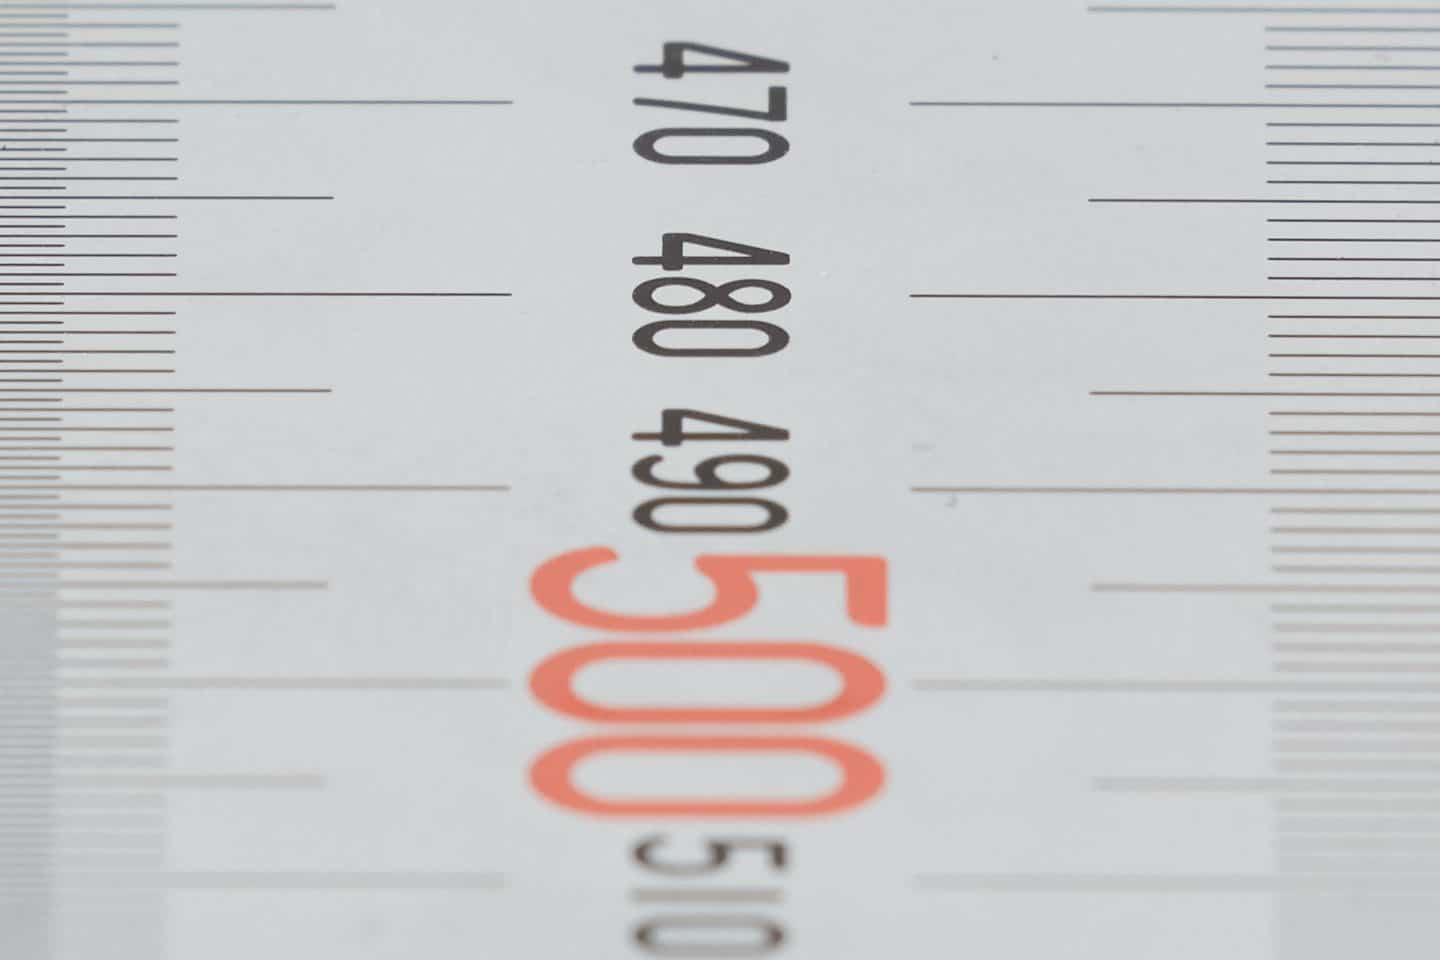
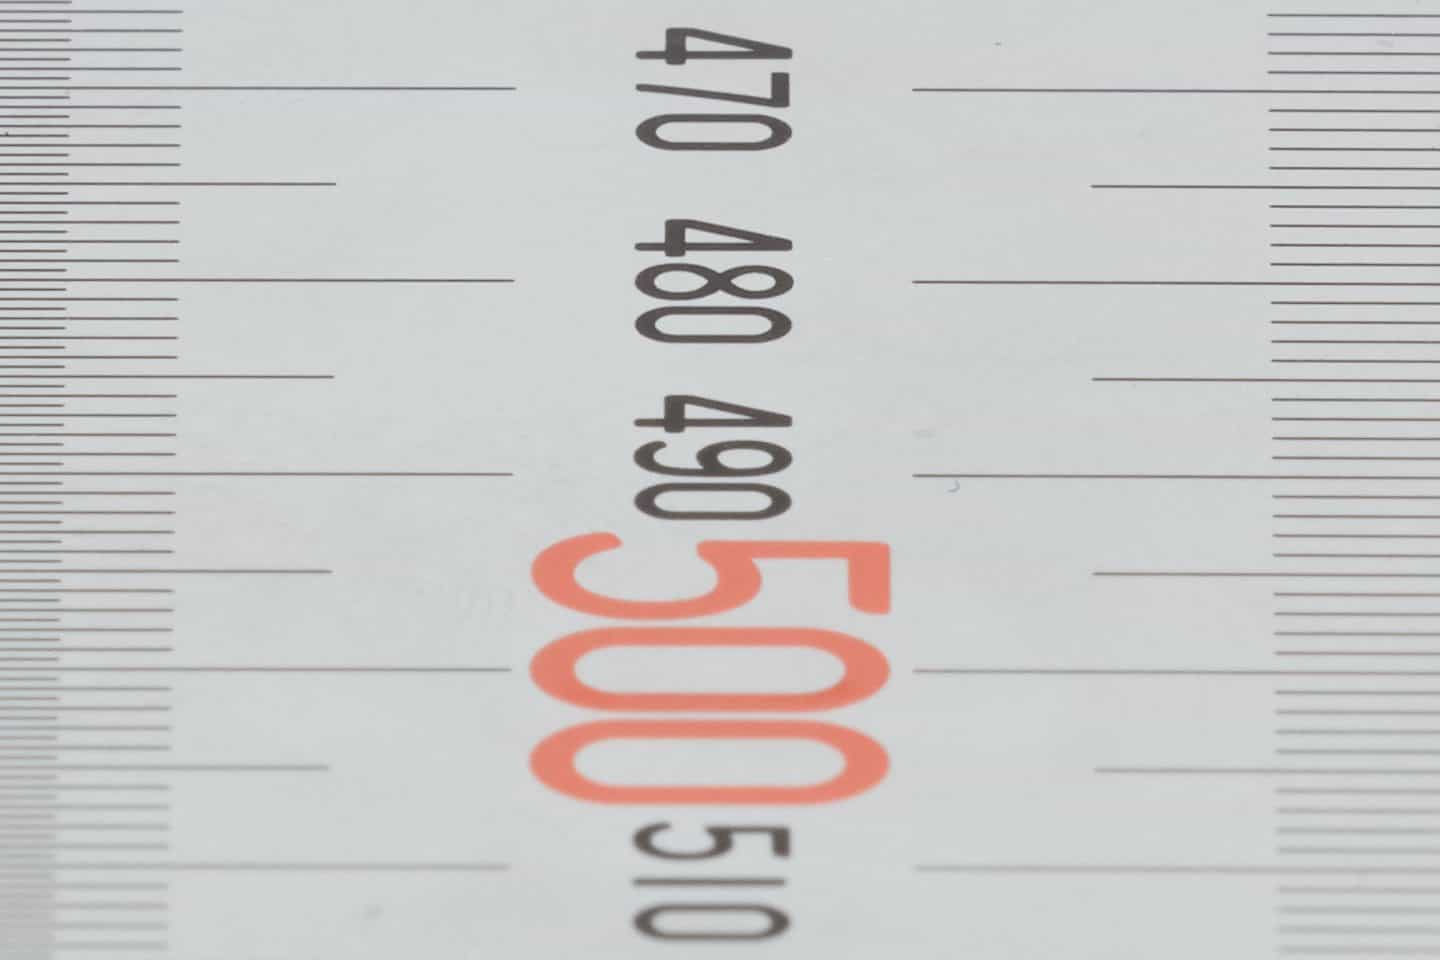
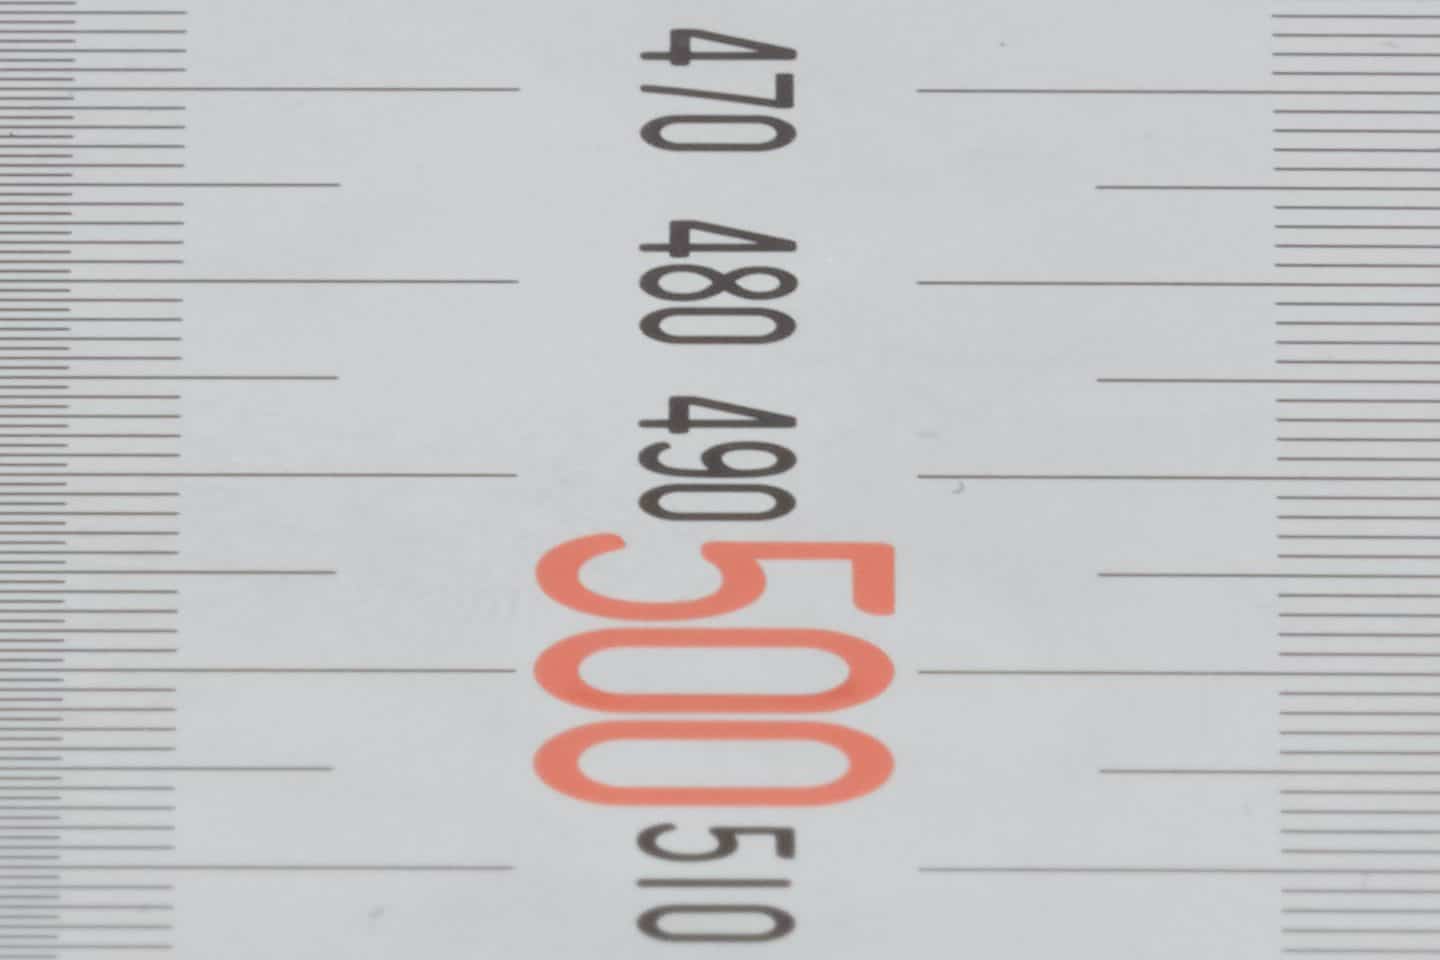
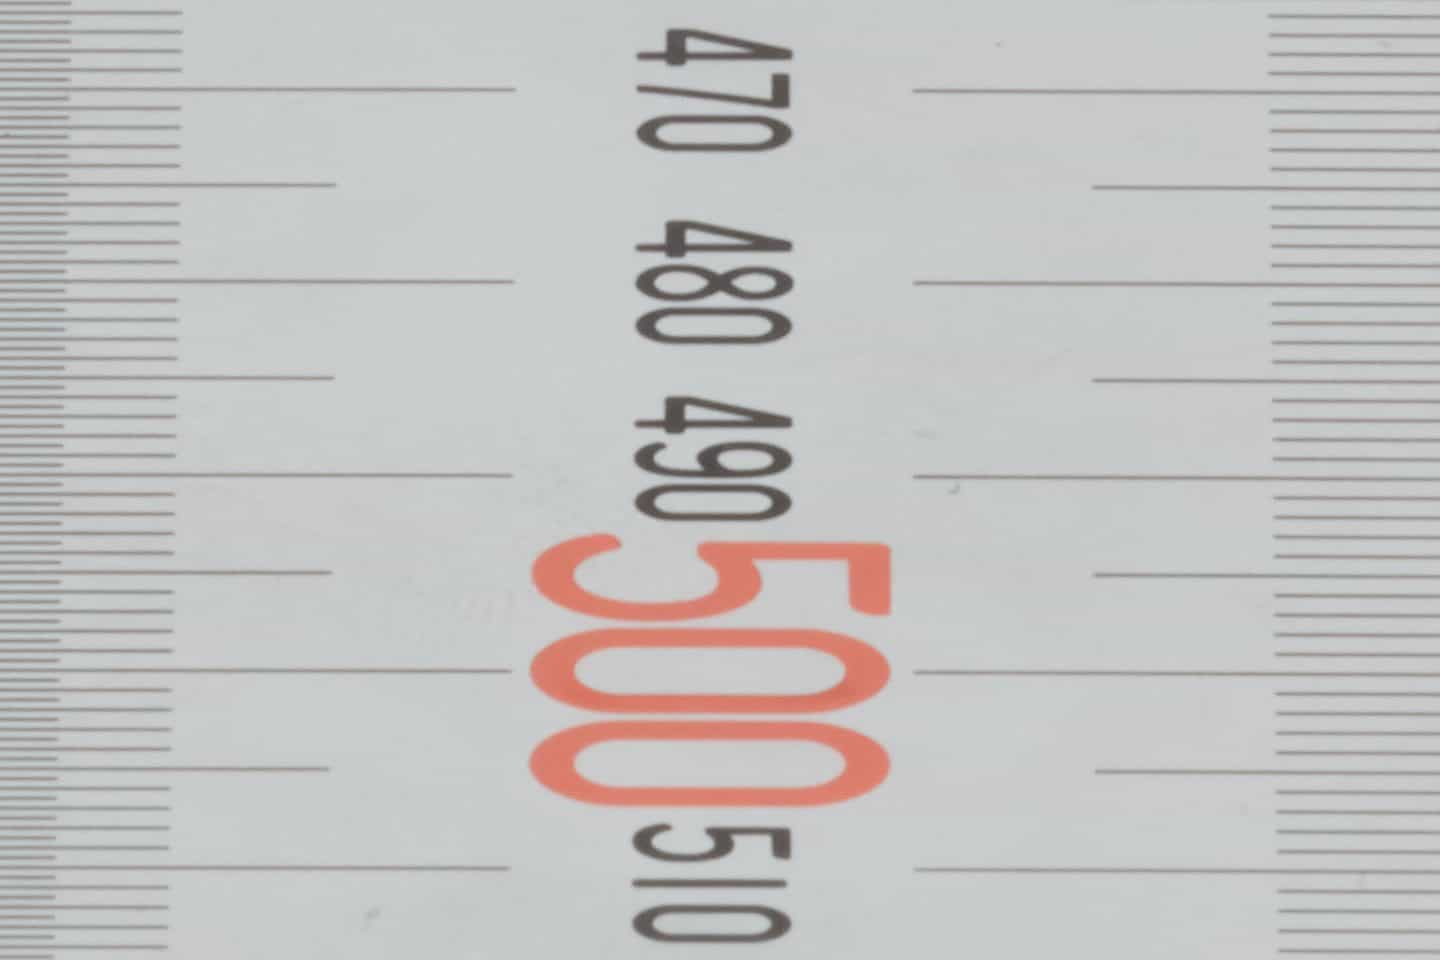
Of course, how much diffraction you actually see in your images will depend on your camera and the quality of your lenses. The warnings that we’ll display in Photographer’s Friend are intended as a guide only. The best course of action would actually be for you to do a simple diffraction test with your own gear. You can point your camera at pretty much any scene for this, but I like to place a steel rule on a surface, and set my camera up on a tripod, then, using a 2-second timer or cable release so as not to move the camera during the exposure, shoot a series of images, starting at say f/5.6, then f/8, and from say f/11 onwards, shoot a frame for every step you can stop down your aperture.
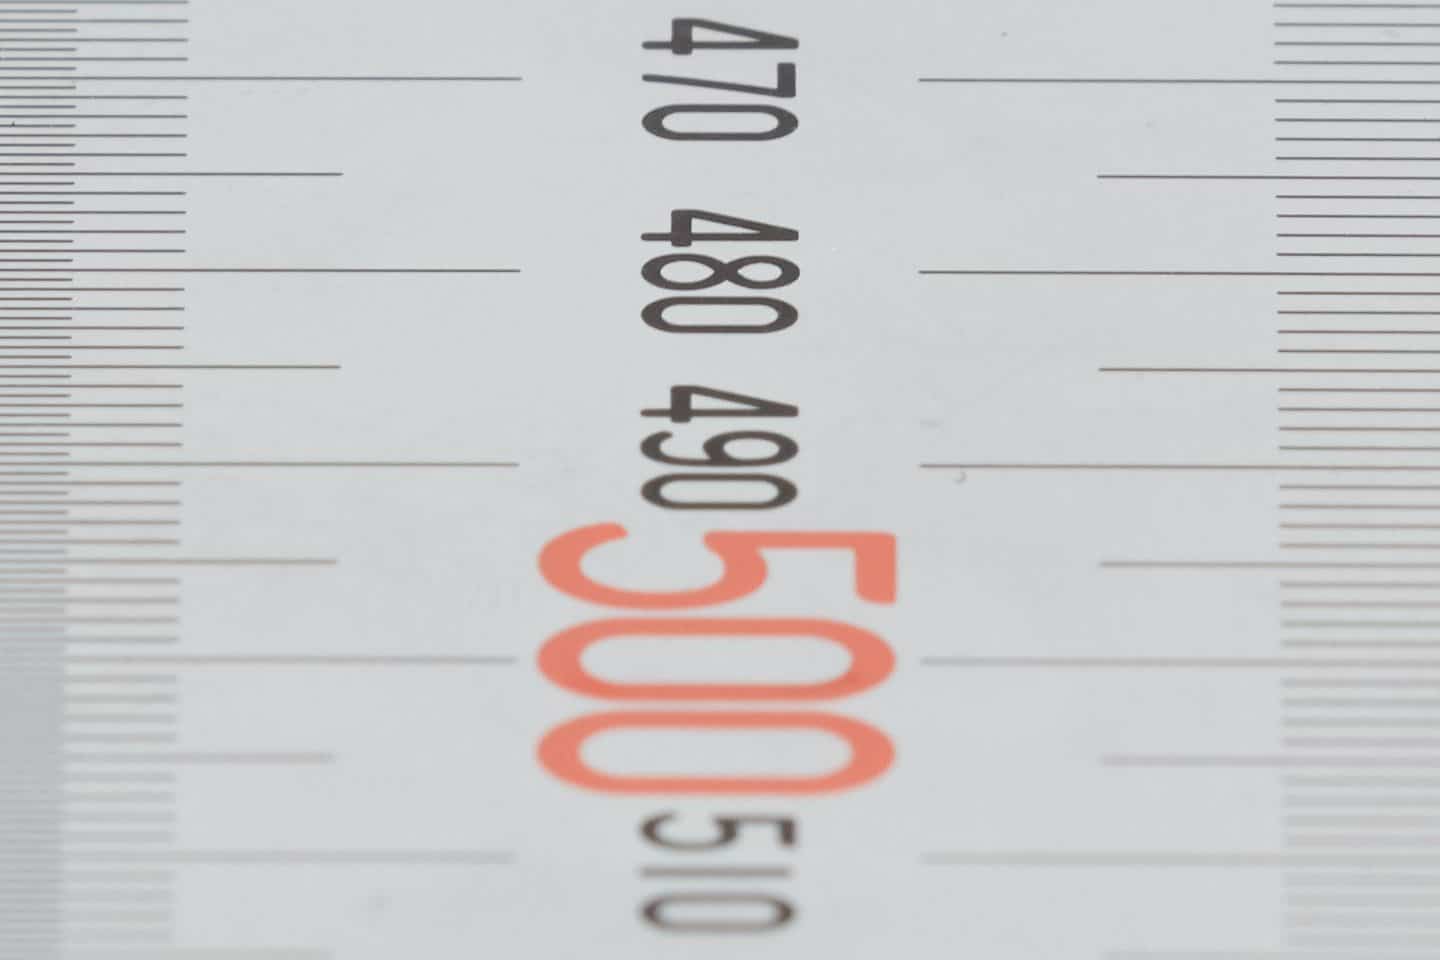
When I did this test with my Canon EF 24-105mm f/4 IS Mark II lens, I found that the only noticeable degradation due to diffraction was between f/20 and f/22. It’s barely noticeable, but here are the two frames at 100% in which you can see the difference. You’ll need to open up your browser window and click on one, then move back and forth with your mouse or keyboard arrow keys to see any difference.
My 24-105mm lens only stops down to f/22, so I also checked with my 100-400mm lens, which stops down to f/40 when the focal length is set to 400mm. Here is a set of images from that test, starting at f/11 down to f/40. I had image stabilization turned on, because of the long focal length, and the possibility of my house shuddering from train movement etc. so the image moves slightly between some of the frames, but the lack of sharpness as you stop down is due to diffraction.

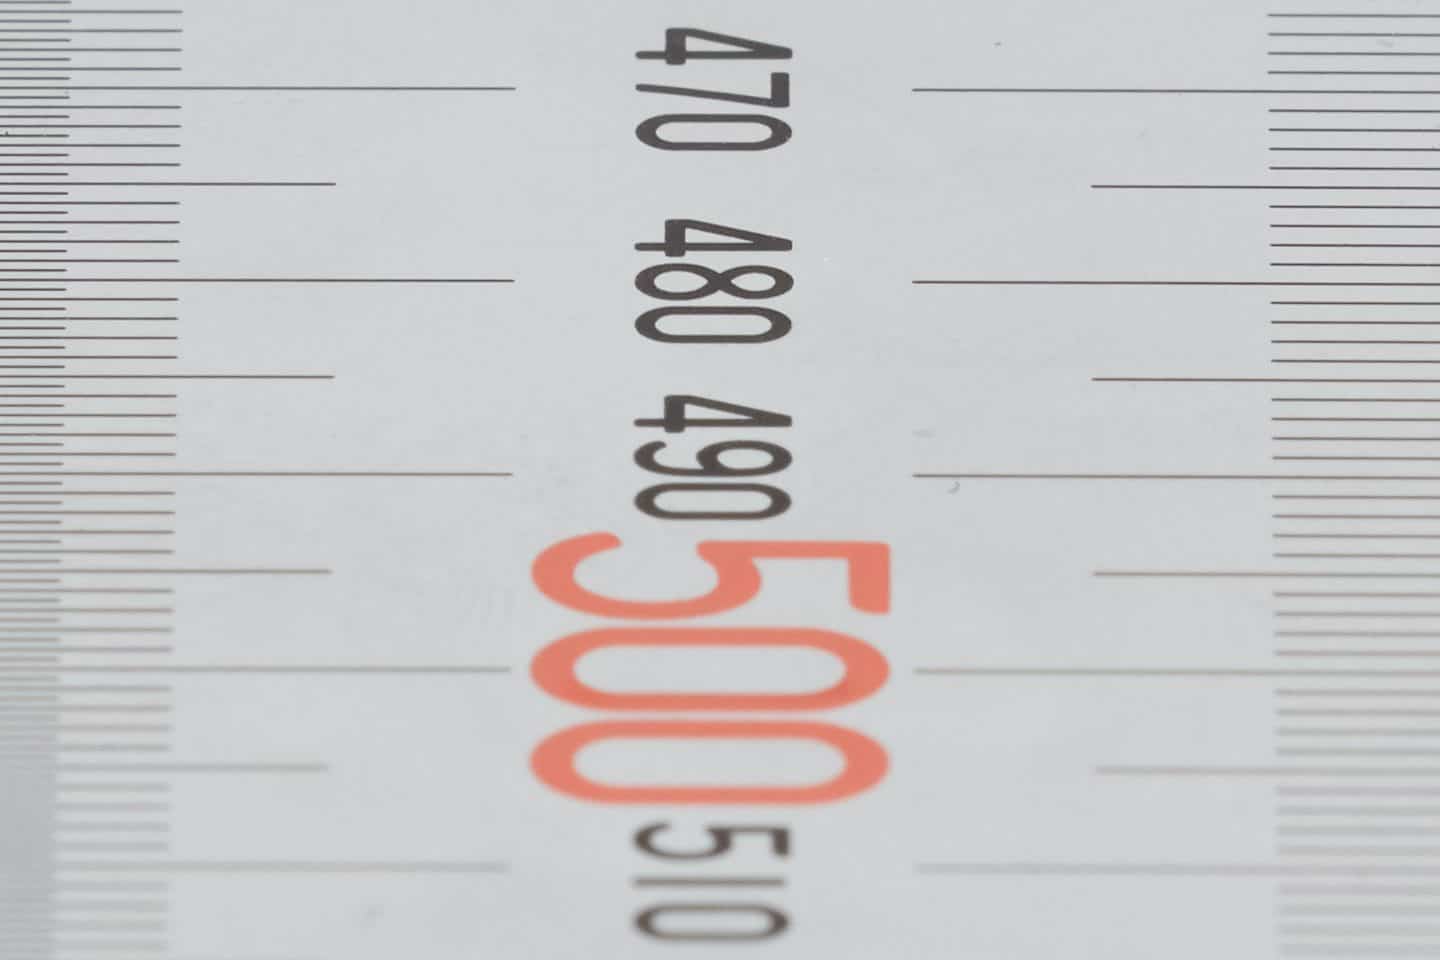


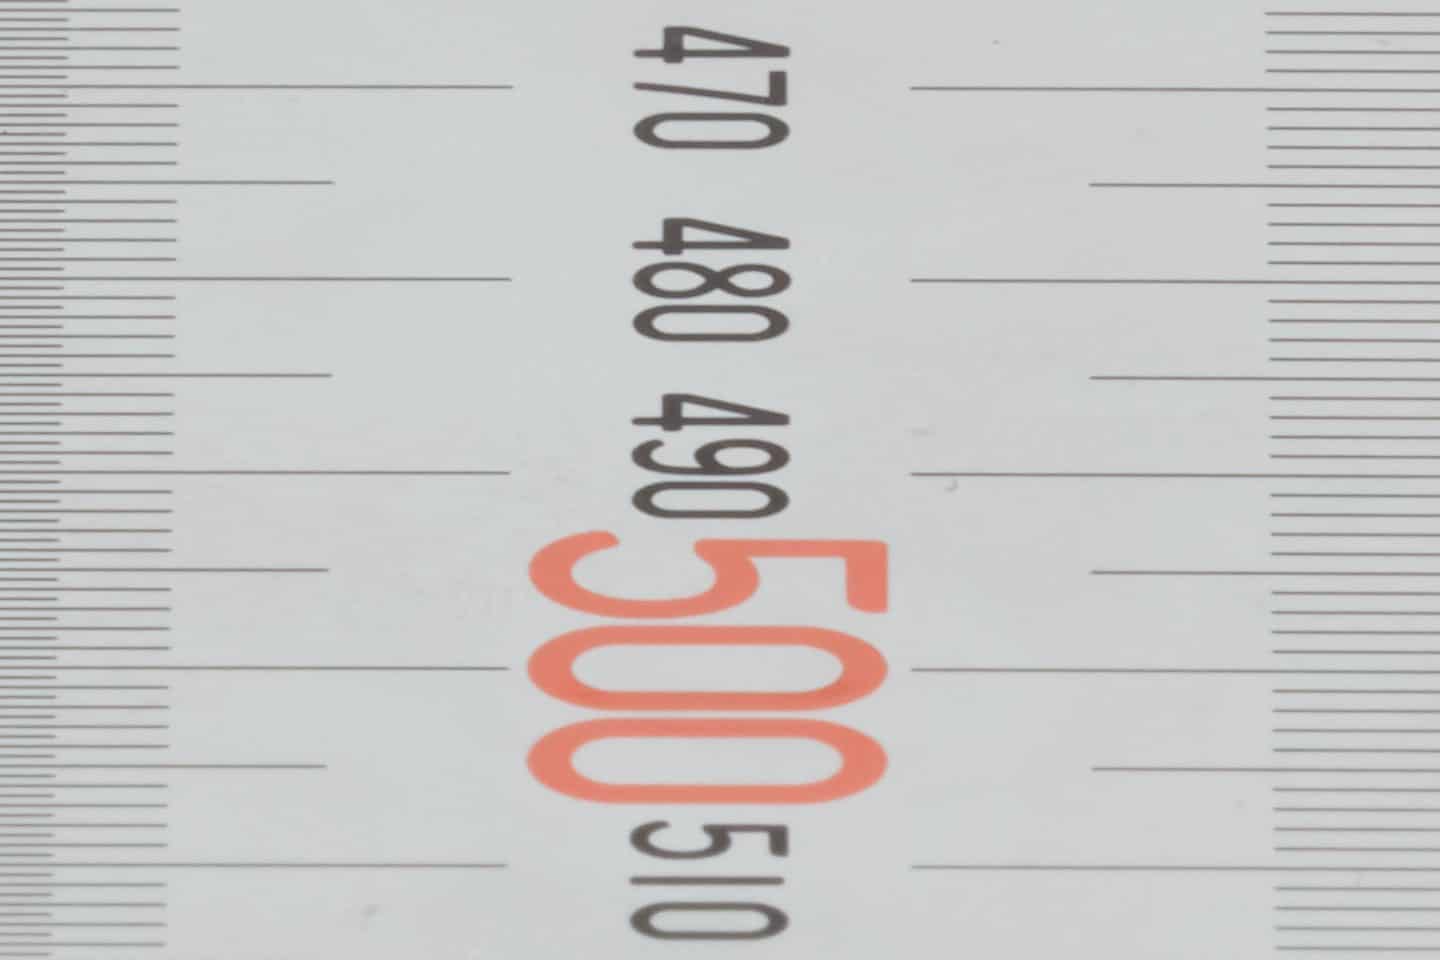
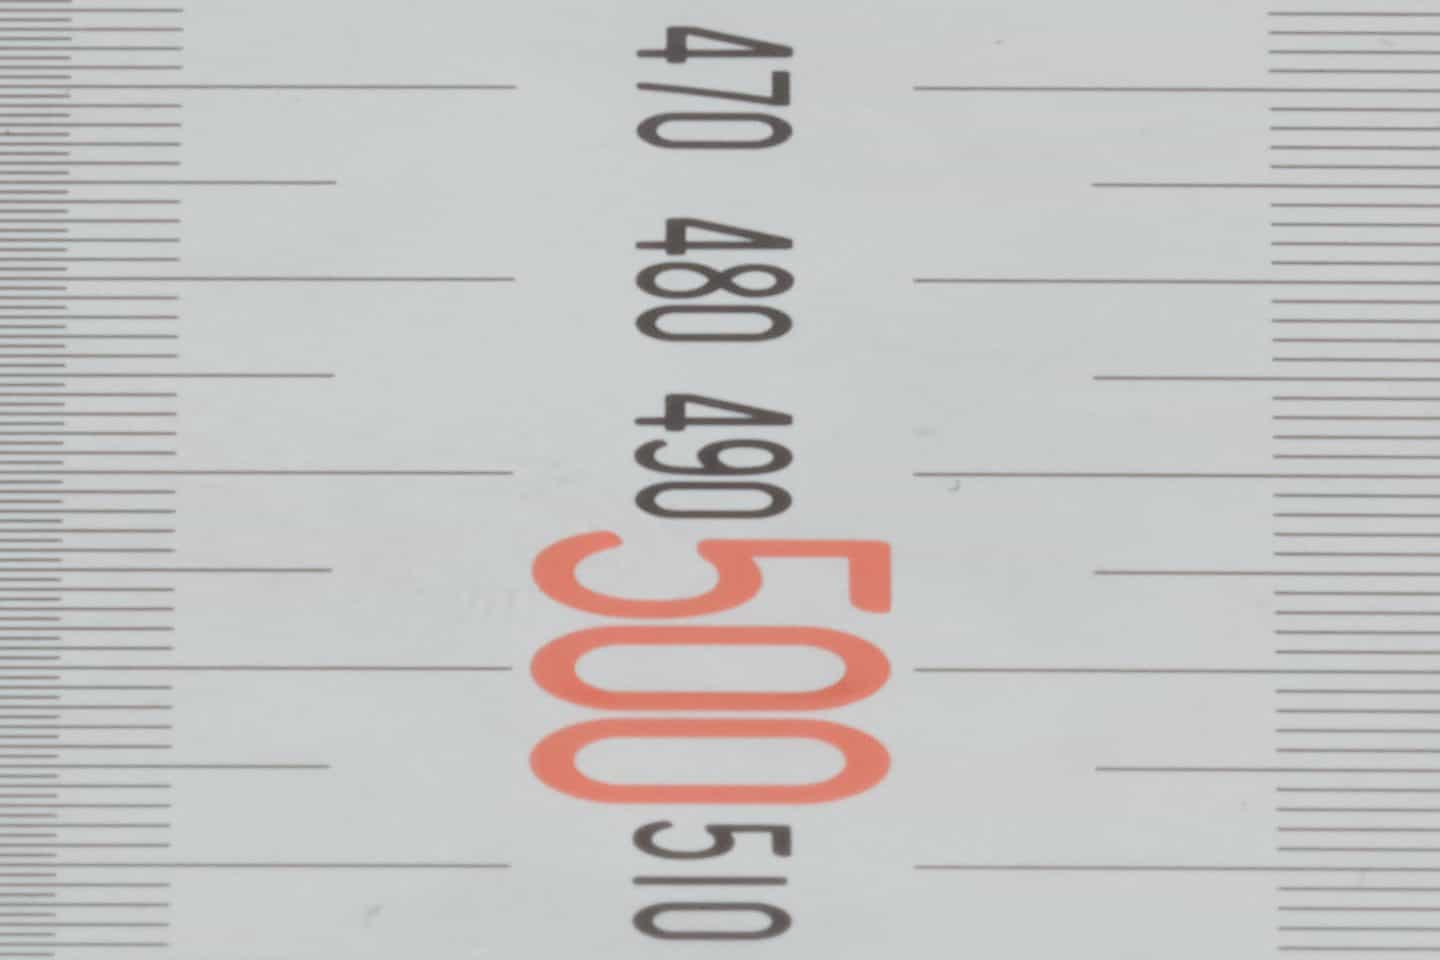

The first noticeable drop in sharpness due to diffraction is again at f/22, so it seems that the Canon 5Ds R with no anti-aliasing filter is not affected by diffraction until f/22, at least with the two lenses I’ve tested. This is good news, as I have habitually been keeping my aperture to around f/14 or sometimes f/16 to avoid diffraction because that’s where it started with my 5D Mark III. I’ll keep the possibility of going a little further in mind as I shoot moving forward, and also be sure to test new cameras before shooting with them in future. You’ll also notice that by f/40 the images are really soft, all down to diffraction.
You might also be wondering if the closeness of my test subject may affect the results, but I did a series of shots out of my studio window and the results were the same. Diffraction kicked in at f/22. Do take a moment to test your own lenses though, and let me know your findings in the comments to this blog post. This will help me to fine-tune the parameters for the new Diffraction Limit color-coding. Include your camera format, i.e. 35mm, micro four-thirds, and the megapixels, as well as when you saw the effects of diffraction kick in etc.
New DoF and HyperFocal Distance Values
The other thing to keep in mind is that the Depth of Field and Hyperfocal Distance also change when you use Pixel Peeper mode. This update is not just about Diffraction. This means that as you check the depth of field and hyperfocal distance values, you will notice that you need to stop down your aperture a little more to get enough depth of field to keep everything sharp if that’s your intention.
For example, in the standard mode, with a full frame 35 mm sensor and your aperture set to f/8 and a focal length of 50 mm, when focusing at 3 meters, you’ll get a depth of field of 1.78m and the hyperfocal distance is 10.83 m. In Pixel Peeper mode using a 30-megapixel camera with the same settings as before, you’ll only have 77 cm depth of field, and your hyperfocal distance changes to 23.3 m. This is as expected because you are working with a smaller circle of confusion for a sharper image.
For our metrically challenged friends, the same settings, f/8 at 50 mm, focusing at 9.8 feet, you’ll have a depth of field of 5.77 feet and a hyperfocal distance of 35.5 feet in the normal mode. In Pixel Peeper mode, again with a 30-megapixel camera, you’ll get a 2.5-foot depth of field and your hyperfocal distance becomes 76.58 feet.
I’m actually expecting that with camera’s and lenses being so good these days, it’s this feature that may ultimately be more useful than the Diffraction Limit warnings, but I still think it’s useful to have this information, so that we can make the right decisions as we shoot, to create the best quality images possible.
Related Content
Before we finish, I wanted to let you know that if you are not aware of how the aperture setting and subject distance affects the depth of field, I posted a pretty thorough article in episode 132, have an article here. I also released a post on Hyperfocal Distance in episode 437.
So, I hope this has helped to understand the Circle of Confusion, Diffraction Limit, and the Airy Disk. These are subjects that I’ve found myself living in over the last week as I’ve worked on this update for Photographer’s Friend, so I figured it was as good a time as any to put my thoughts down in words here.
Note that I’m leaving for Morocco in a few days, and because I’ve been busy with this update and other preparations, I haven’t been able to prepare any additional episodes for release while I’m away, so there won’t be any new episodes until the middle of November now.
Also note that as I build out the functionality of the app, I think it’s fair to increase the price from the introductory $2.99 to $3.99 when I release version 2.3, so if you are thinking of picking up Photographer’s Friend, save yourself a dollar by buying before v2.3 is released. If I can get enough testing done over the next couple of days, I’ll release before I leave for Morocco, but otherwise, it will be mid-November. And of course, if you miss that, it’s still going to be only $3.99, probably until I add a third calculator or some other significant new features.

Show Notes
The Diffraction Limited Photography article on Cambridge in Colour: http://www.cambridgeincolour.com/tutorials/diffraction-photography.htm
Get Photographer’s Friend on the App Store here: https://mbp.ac/pf
Subscribe in iTunes for Enhanced Podcasts delivered automatically to your computer.
Download this Podcast in MP3 format (Audio Only).
Download this Podcast in Enhanced Podcast M4A format. This requires Apple iTunes or Quicktime to view/listen.

Hi Martin
The 12 photos showing diffraction appear to be mislabeled. The photo labeled f/40 appears to be the f/11 shot, so it seems that the labels are reversed.
Thank you for this excellent podcast!
Hi Eric,
Tell me, why do you think that? I just checked, and the labels look fine to me.
Cheers,
Martin.
You are correct. I mistook the diffraction in the f/40 shot for a lack of dof. I see it now.
Thank you for helping me to take another look and end my confusion!
Keep up these great articles!
Ahh, that’s good. Thanks for letting me know Eric.
Martin – I just caught up with this podcast. This is terrific, particularly for those of us into the geekiness side. When the app first came out, I knew there was a debate as to the appropriate CoC, and this podcast explains it all. I’ve just received a new Nikon D850, so I’ll try approach recommended for diffraction and will let you know how it turns out. Thanks for your work and efforts on this. Very useful.
Regards,
David
I’m pleased you found this useful Dave!
I recently heard from someone with a camera that shows the depth-of-field, and it looks like the manufacturer is using very similar algorythms, as the numbers were almost identical to my Pixel Peeper mode, so that good to know.
The Diffraction Warning is currently set to be somewhat harsh. It may be accurate for someone using average lenses, but all of my Canon L lenses work much better in my tests. I can probably build in a setting to allow people to adjust the warning levels based on their own tests if that would be useful.
Do let me know how you get on with your tests and I’ll see what can be done.
Cheers,
Martin.